
How to Fix Uneven Bathroom Tiles: Easy Repair Tips & Tricks
Introduction: Elevating Your Bathroom with Perfectly Laid Tiles
In the realm of home improvement, few details hold as much visual and functional significance as the alignment of your bathroom tiles. An uneven tile surface not only blemishes the aesthetic appeal but also risks long-term damage and safety concerns. Understanding how to fix uneven bathroom tiles with precision can save you considerable time and money, transforming a flawed installation into a showcase feature of your bathroom remodel. This comprehensive guide offers expert insights, actionable steps, and best practices to master this craft, empowering homeowners and DIY enthusiasts alike.
What Causes Bathroom Tiles to Become Uneven Over Time?
Before diving into solutions, it's important to understand the common causes behind uneven tiles. Recognizing these factors can help prevent future issues and inform appropriate repair strategies:
Subfloor movement or shifts: Foundations can settle or shift, leading to tile misalignment.
Improper surface preparation: Insufficient leveling or uneven substrate lays the groundwork for tile imperfections.
Inconsistent adhesive application: Uneven tile adhesion due to improper mortar spreading causes tiles to sink or rise.
Temperature fluctuations and moisture exposure: Water infiltration and expansion/contraction cycles can loosen tiles over time.
Foot traffic and regular wear: High usage areas can accelerate wear and cause tiles to shift.
Why Is It Important to Address Uneven Bathroom Tiles Promptly?
Ignoring uneven tiles can lead to serious problems beyond aesthetic displeasure:
Water seepage and damage: Irregular tile surfaces can trap water, promoting mold growth and wood rot.
Injury risk: Trip hazards increase with uneven surfaces.
Component separation: Continued movement can cause grout lines to crack or tiles to detach.
Decreased property value: Visible flaws diminish overall visual appeal and market competitiveness.
Now that the importance is understood, let’s explore how to restore your bathroom tiles to their optimal condition.
What Are the Step-by-Step Methods to Fix Uneven Bathroom Tiles?
How can I assess the extent of tile unevenness effectively?
Start with a thorough inspection. Use a long spirit level or straightedge to identify high and low points across your tiled surface. Mark problem areas with a pencil, so you can tailor your repair approach. For minor irregularities, gentle adjustments may suffice. More significant deviations might necessitate partial or complete removal and reinstallation.
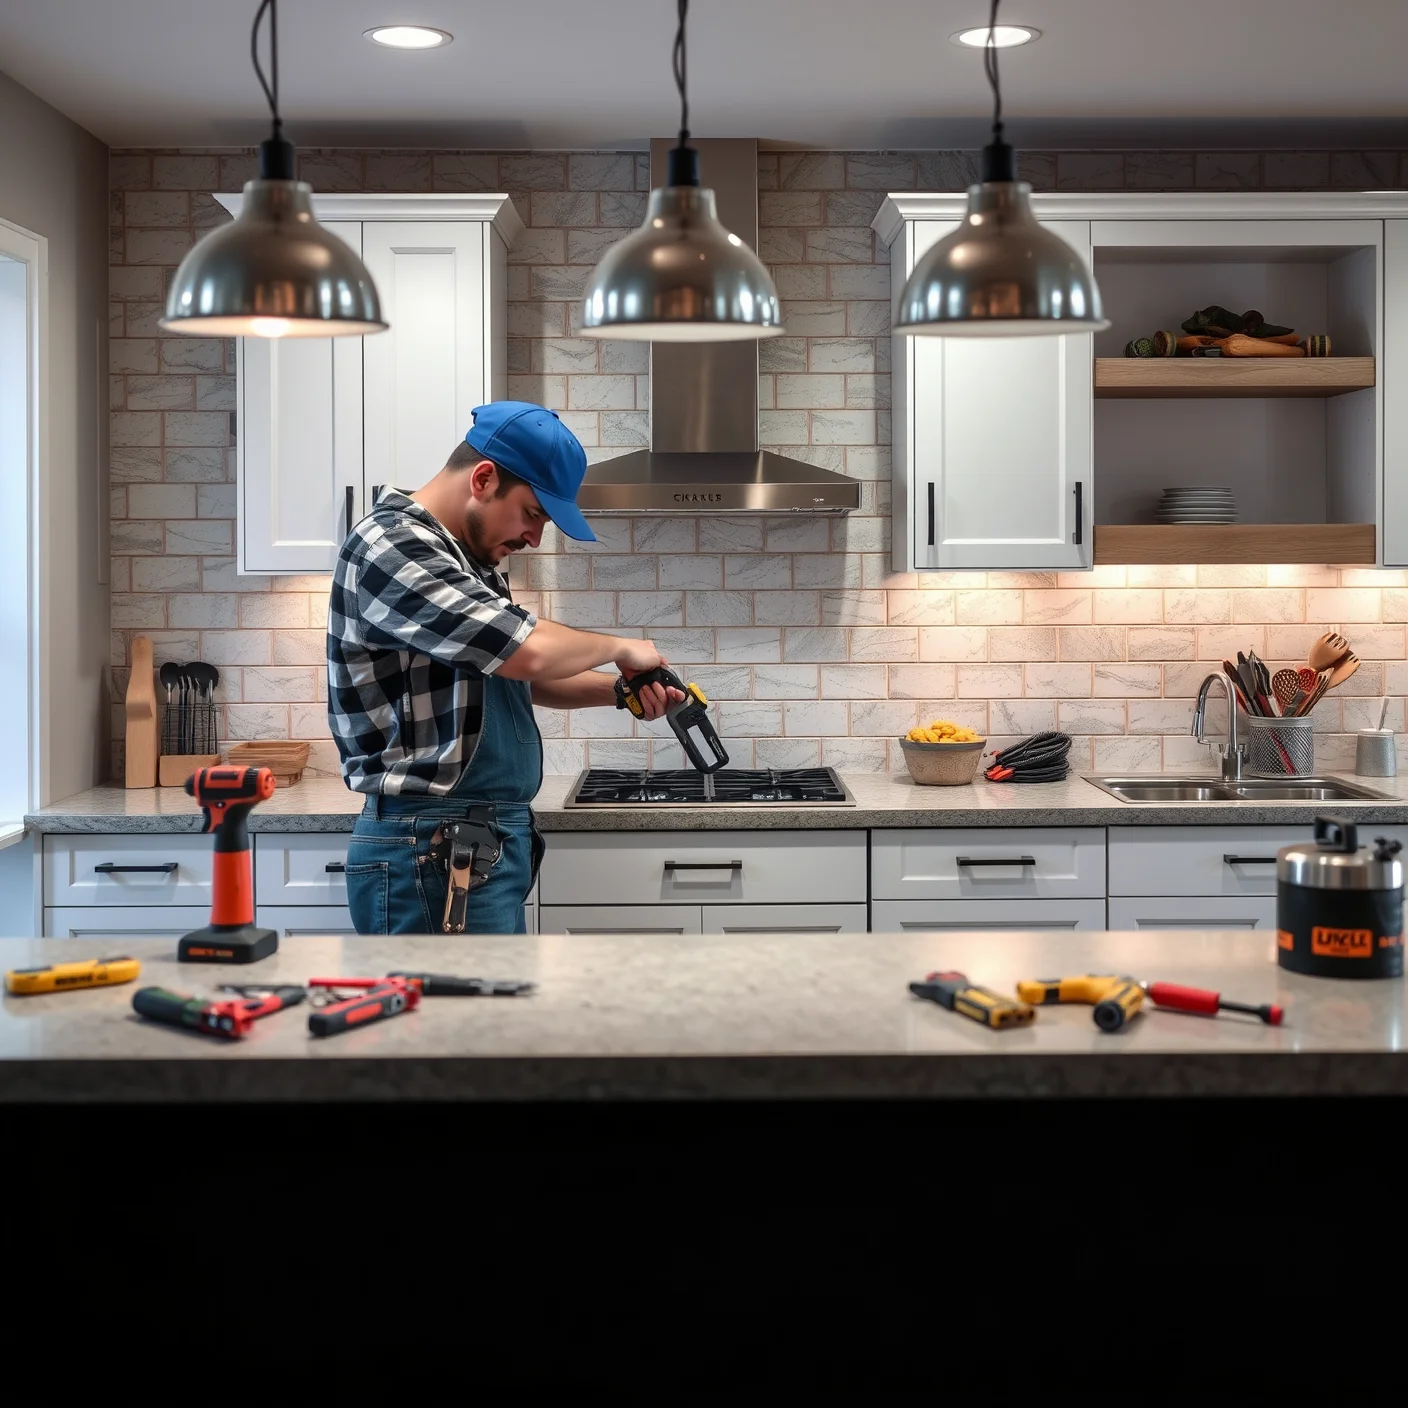
What tools and materials are essential for fixing uneven bathroom tiles?
Tools: Tile remover, chisel, grout saw, notched trowel, level, rubber mallet, safety goggles, dust mask
Materials: Replacement tiles, high-quality tile adhesive, grout, leveling compound, rubbing stone, primer, sealant
How do I lift and remove problematic tiles without damaging surrounding ones?
Careful removal preserves the integrity of your surrounding tiles. Follow these steps:
Cut through the grout lines around the damaged tile using a grout saw.
Gently insert a chisel or pry bar beneath the tile edge, tapping softly with a rubber mallet.
Lift the tile gradually, taking care not to disrupt adjacent tiles.
Clean the underlying surface thoroughly to remove old adhesive and debris.
What is the correct way to apply new adhesive to ensure level installation?
Proper adhesive application is critical. Use a notched trowel to spread mortar evenly on the substrate. Comb the adhesive in a consistent pattern, ensuring an even thickness. Place the tile gently onto the adhesive, pressing firmly and twisting slightly to seat it properly. Use a level to check alignment, making adjustments before the adhesive sets.
How can tile leveling systems assist in fixing uneven tiles?
Tile leveling systems, such as clips and wedges, help achieve a flush surface and prevent lippage. After positioning the tile, insert the leveling clips and tighten wedges until the tile surface is even. Allow the adhesive to cure fully before removing the system components.
Are There Temporary Fixes for Uneven Tiles That Can't Be Replaced Immediately?
Yes, for minor imperfections, consider the following adjustments:
Grout filling: Use flexible epoxy grout to fill small gaps or depressions, smoothing out unevenness.
Tile fillers or epoxy patches: Apply specialized fillers to elevate low tiles or fill minor cracks. These materials bond well and resist water exposure.
Overlay decoupling membranes: For larger issues, overlay a thin layer of membrane to create a flat surface before re-tiling.
However, these are interim solutions and may not be suitable for significant unevenness or structural issues. For persistent problems, professional intervention is advisable.
How Can I Prevent Future Uneven Bathroom Tiles?
Preventive measures contribute to long-lasting, flawless tiling:
Ensure proper surface preparation: Level and clean the substrate before tile installation.
Use high-quality materials: Invest in premium mortar and grout to enhance adhesion and durability.
Employ skilled installation techniques: Whether DIY or professional, follow best practices for mortar application and tile placement.
Address underlying issues promptly: Fix plumbing leaks or foundation problems that could cause substrate shifts.
Maintain a controlled environment: Minimize moisture exposure during and after installation. Proper ventilation and sealing protect against water infiltration.
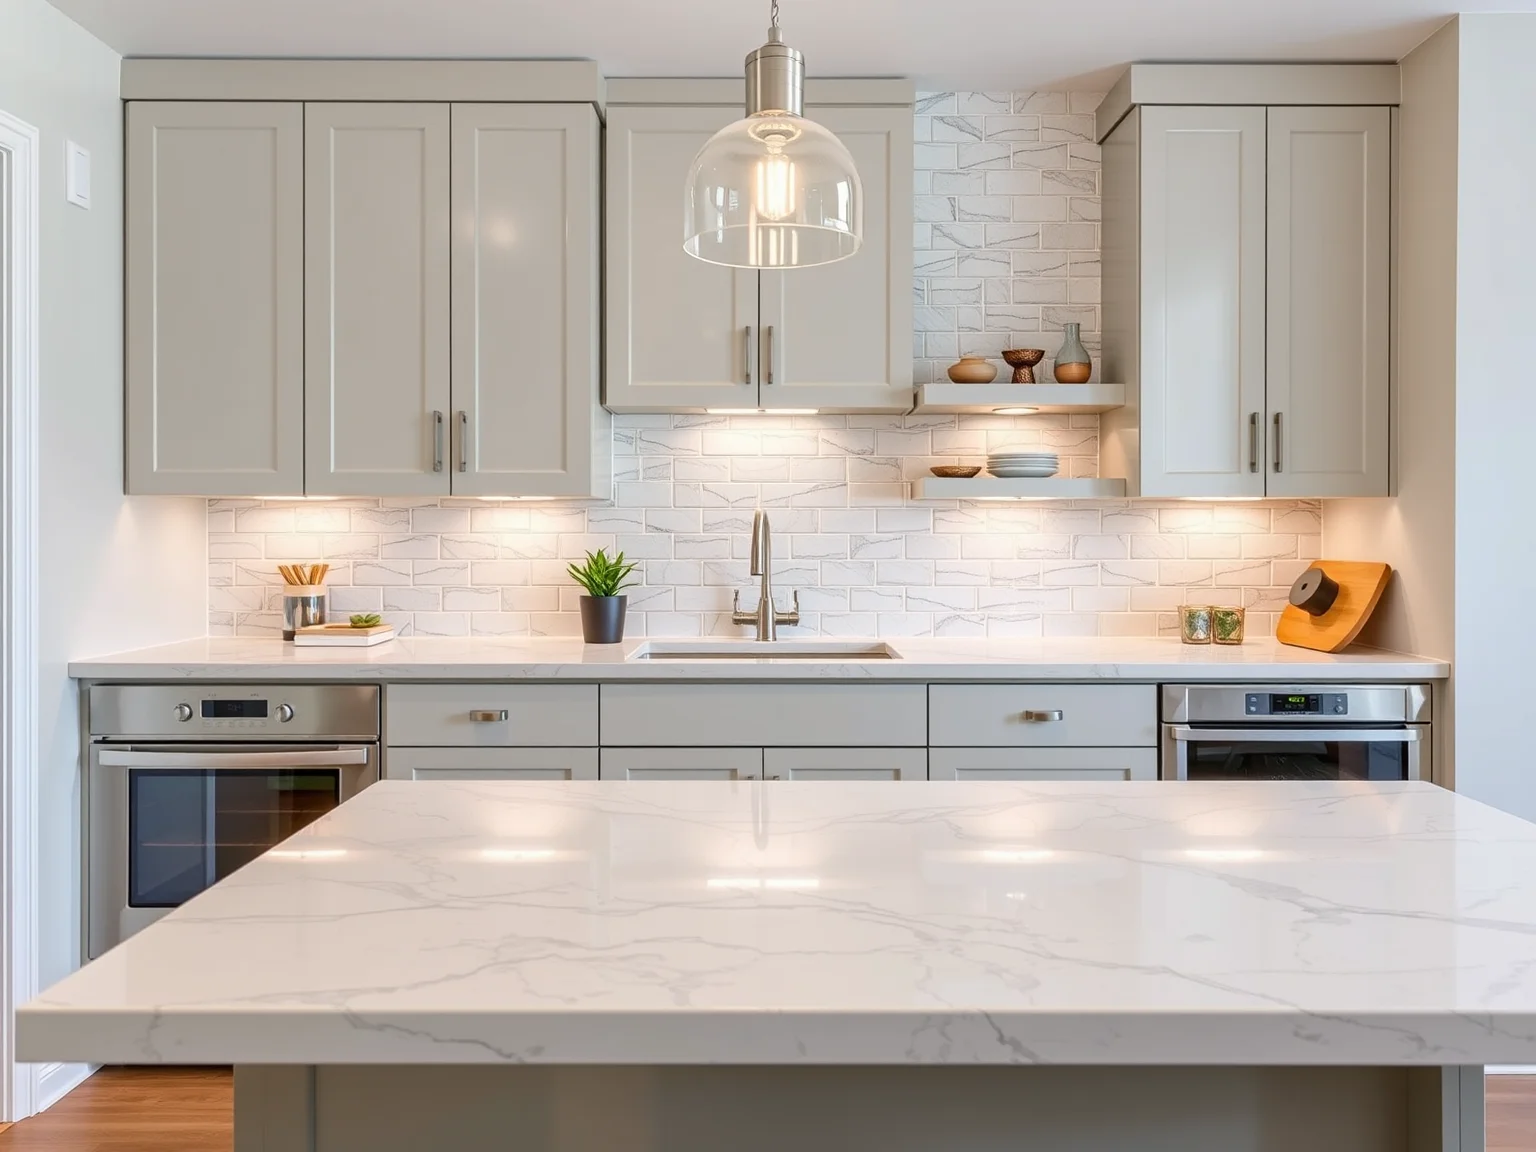
For insights on other renovation aspects, explore our article on bathroom remodeling for seniors.
Can I Tackle How to fix uneven bathroom tiles Myself, or Should I Hire a Professional?
While many minor repairs are manageable with careful attention and patience, significant unevenness or structural concerns warrant professional expertise. Skilled contractors possess the tools, experience, and knowledge to execute precise repairs efficiently. For challenging projects, consulting with experts ensures safety, longevity, and aesthetic harmony.
What Are the Best Practices for Ensuring a Seamless Finish?
Achieving a professional aesthetic involves meticulous attention to detail:
Consistent grout lines: Use spacers during installation to maintain uniform gaps.
Proper curing times: Allow adhesives and grouts to cure fully before applying stress or sealant.
Detail oriented sealing: Seal grout lines to prevent water infiltration and discoloration.
Regular maintenance: Clean tiles appropriately and address minor cracks promptly.
For modern trends and style inspiration, explore our article on kitchen remodeling trends.
FAQ: Your Most Common Questions About Fixing Uneven Bathroom Tiles
How long does it typically take to fix uneven bathroom tiles?
The duration varies depending on the extent of the unevenness and the repair method. Minor adjustments might take a few hours, while complete replacements or structural repairs could span a couple of days.
Is it possible to fix uneven tiles without removing them?
In some cases, minor irregularities can be addressed with grout filler or epoxy patches. However, significant unevenness generally requires removal and reinstallation to ensure a perfectly level surface.
What are the signs indicating that my bathroom tiling needs professional attention?
Persistent lippage, cracked grout, loose tiles, water damage, or increasing unevenness are indicators that professional assessment and repair are advisable.
Conclusion: Mastering Your Bathroom Transformation
Understanding how to fix uneven bathroom tiles is a valuable skill that elevates your home improvement repertoire. Whether you're embracing DIY repairs or collaborating with experienced contractors, attention to detail and strategic techniques are your keys to success. By addressing uneven tiles promptly and effectively, you enhance your bathroom’s aesthetic appeal, safety, and durability—converting a common issue into a testament to your craftsmanship and care.